So Andy and I have finished moving! We moved into my sister's condo because she bought a house. I'm super excited about how much room we have now! We aren't all unpacked yet, but we're getting there. I finally got all my clothes put away today. Last time I moved, it took me almost 2 weeks to get my clothes hung up and put away. This time I was smarter about how I boxed them, so that I could just hang them right up in the order I like :)
My craft room was the first thing I unpacked on the Sunday after we moved (we moved Saturday). It's almost all complete! I'm just waiting for some paper storage cubes that I want for my birthday in a little over a week! Then I'll get a video of my new area and post it for you. It's absolutely beautiful! It's soooo big! I have so much more room and everything is so much more organized. We also have a TV downstairs so now I can watch TV while I craft, so I find myself down there more often. I've already made 5 cards this week, plus a video! (Currently being uploaded to youtube) That's a lot more than I ever have time to make. Andy went to Pennsylvania this week to visit his family, so I think that had something to do with it. I had more time to craft since I was all by myself (though I did miss him!)
Anyway, I've got so many cards to share with you today. I want to catch up. The first one is a card that I made for our friends Ken and Kelly for thier baby shower. They are having a boy and their theme was dinosaurs.

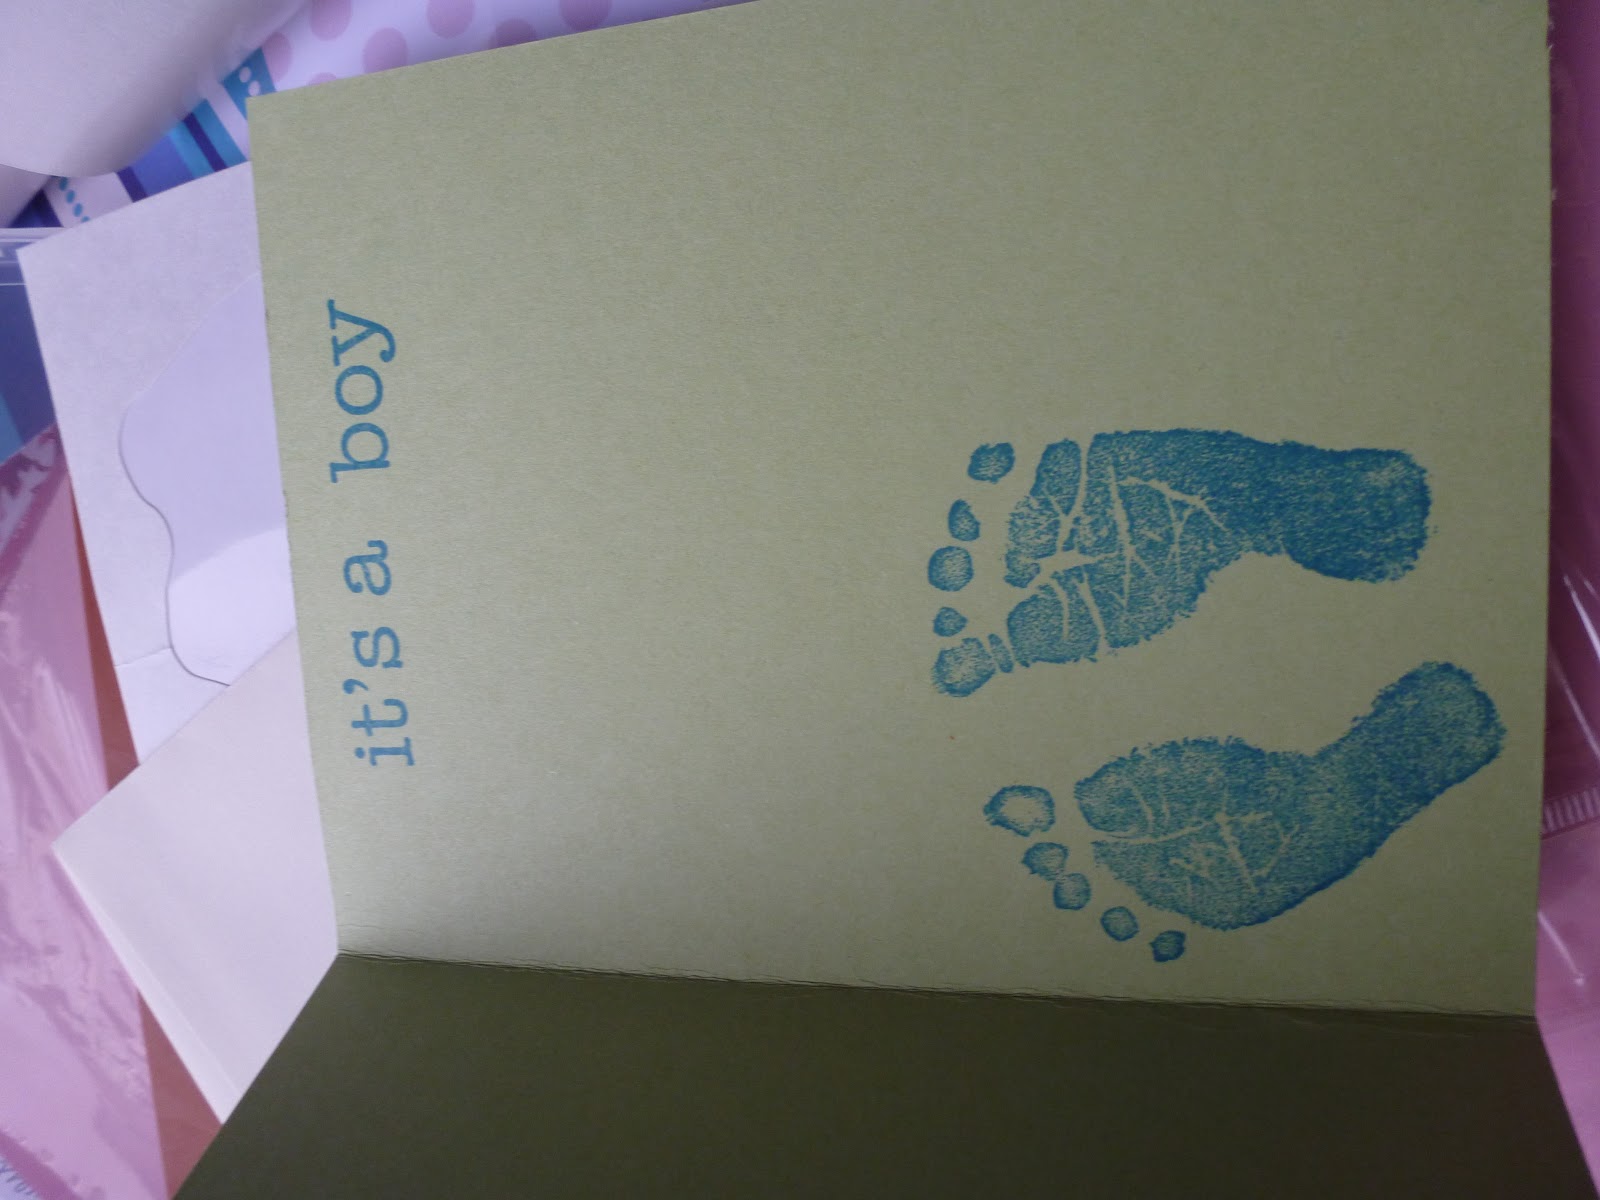
I used the Create a Critter cartridge to cut the dinosaur. He's cut from all Stampin' Up colors, though I can't remember all of them. The patterned paper is from a DCWV stack, I think either the Baby Boy stack or the Glitter stack. Dino-riffic is from the Boy Crazy stamp by My Pink Stamper. The baby feet as well as the it's a boy sentiment are from the Baby set in the Stampin' Up Occasions Mini. I think it turned out super cute!!
The next card I wanted to share was the card I made for Andy for Valentine's Day! This one was made using mostly Papertrey Ink products. I absolutely love Stampin' Up and all their products, but I've rediscovered Papertrey Ink! They release a new line of stamp sets and dies to match their stamps on the 15th of every month and I've been sucked in! I've bought stuff from the last 3 releases and I'm super super excited for the new stuff that I just bought this week. I can't wait for it to come in :) I ended up spending almost $250... eek! I also bought a lot of new products from thier February release, and I finally got around to actually using some of them, which was a lot of fun. I'll take pictures of those cards and post those ones as well. The card that I'm about to share is made from products from thier January release. I used the Simply Jane stamp set, which is awesome! It also has matching dies and designer series paper.


I stamped the couple from the Simply Jane set using Dark Chocolate ink onto the Dearest Jane designer paper. I then used one of the Papertrey Ink oval dies to cut out the couple. The frame is stamped using versa mark onto Smokey Shadow cardstock and then I used silver (or it could be pewter, I can't remember) embossing powder. I then cut it out using the matching die. I absolutely had to have all of these products as soon as I saw them because I thought they were adorable. I love love love the saying I used from the stamp set (stamped in Vintage Cream), "You must allow me to tell you how ardently I admire and LOVE you." I thought it was perfect for my Valentine's Day card for Andy. The card base is Raspberry Fizz and I also added a strip of the Dearest Jane paper to the bottom of the front. I think the ribbon is just a satin ribbon from Walmart, but Papertrey Ink has beautiful Satin ribbon to match their cardstock as well. The buttons are dark chocolate buttons from Papertrey Ink.
The inside saying is from a My Pink Stamper Stampset called From the Heart, stamped in Dark Chocolate and Raspberry Fizz ink. Andy loved it :)
The last one I'm going to share today, and I'll share more tomorrow, is the St. Patrick's Day card I made for my niece.


I cut out the leprechaun from Simply Charmed at 3 3/4 inches. I also cut out the lucky from the same page. He was made using both Core'dinations paper and Stampin' Up paper. The orage for his hair is Tangerine Tango, and his legs are basic black. The rest is core'dinations.
I took a 4 by 3/4 inch strip of real red, pumpkin pie, daffodil delight, pacific point, and concord crush for the rainbow. I cut the green one from the same green as the leprechaun. I placed them on a piece of white cardstock, and then ran it through the square lattice embossing foler to make it look more like one piece. I then placed that on a 4 x 5 1/4 basic black layer. I tied a green ribbon around the corner of the black layer and tied a knot. I then glued my black layer down on I think it's a piece of New Leaf cardstock from Papertrey Ink. I popped the leprechaun up on pop dots, but glued down the lucky. I used stickles for his buckle, cheeks, and eyebrows, all matching colors (not the icicle one).
I stamped the inside with the Stampin' Up St. Patrick's Day stamp from the Occasions Mini in Garden Green.
Well, that's all for tonight. I've got tons more to share with you, so I'll upload some more tomorrow. I also have another video to share with you, which I will do tomorrow. I hope everyone has a great night! I'm starting to feel a little under the weather (my through is starting to hurt, I'm getting that achey feeling in my neck, and I'm really tired) but hopefully a good night's sleep will make me feel better... Back to work tomorrow... yay... but it's a short week this week! We have professional development on Thursday and Friday so we only have kids for 3 days. It should be a nice break. Then my birthday is the week after, and the week after that we have 4 days, and then it's break, and ANDY'S BIRTHDAY!!! Yay :)
Good night everyone!
- Ash


